Setup S3 bucket website
Create, configure and populate an S3 Bucket Website
- Connect to Window virtual machine. Open Command Prompt
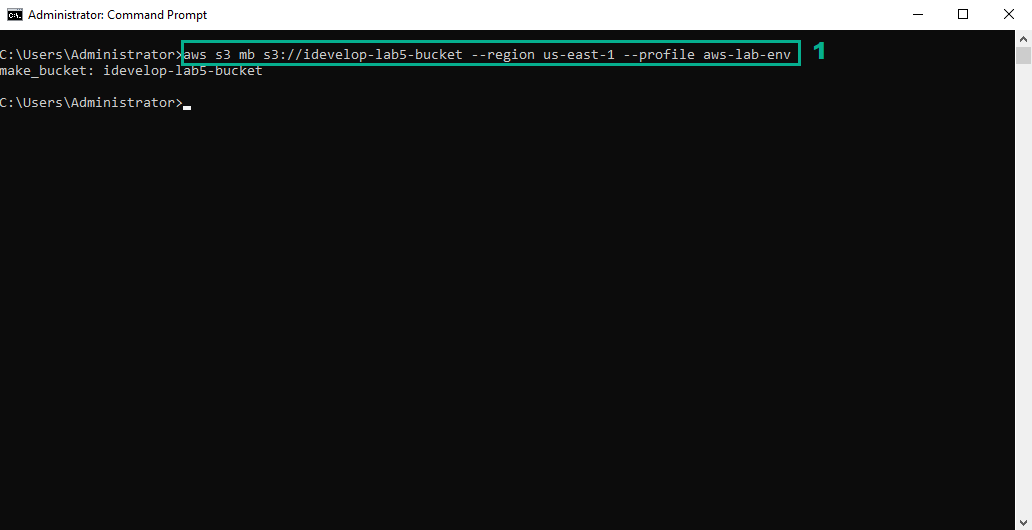
- Execute the following command to create an Amazon S3 bucket to save website resource.
aws s3 mb s3://idevelop-lab5-<your_initials> --region <your_region> --profile aws-lab-env
Replace <your_initials> by your initials or other characters to create an Amazon S3 bucket whose name is unique.
Replace <your_region> by your Region code
You can create an Amazon S3 bucket to save website resource by AWS Console or the command line.
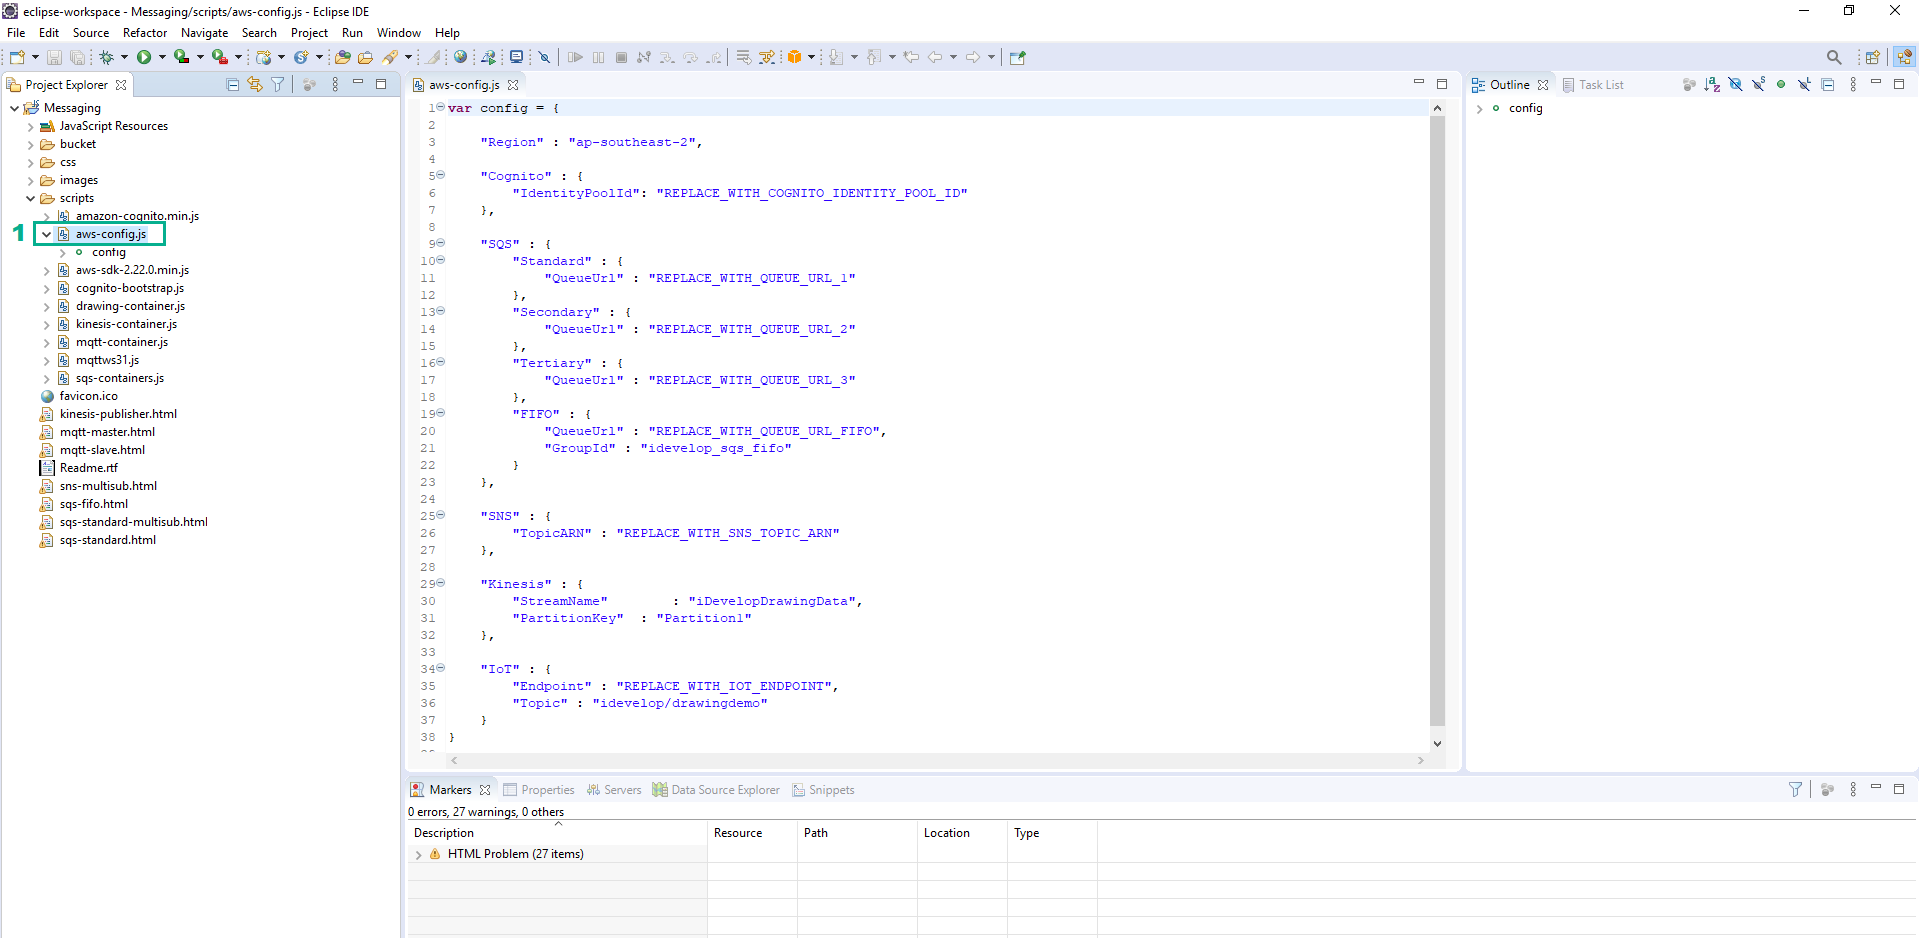
- Open Messaging Project in the Eclipse IDE
- Open the file whose the path is Messaging/scripts/aws-config.js
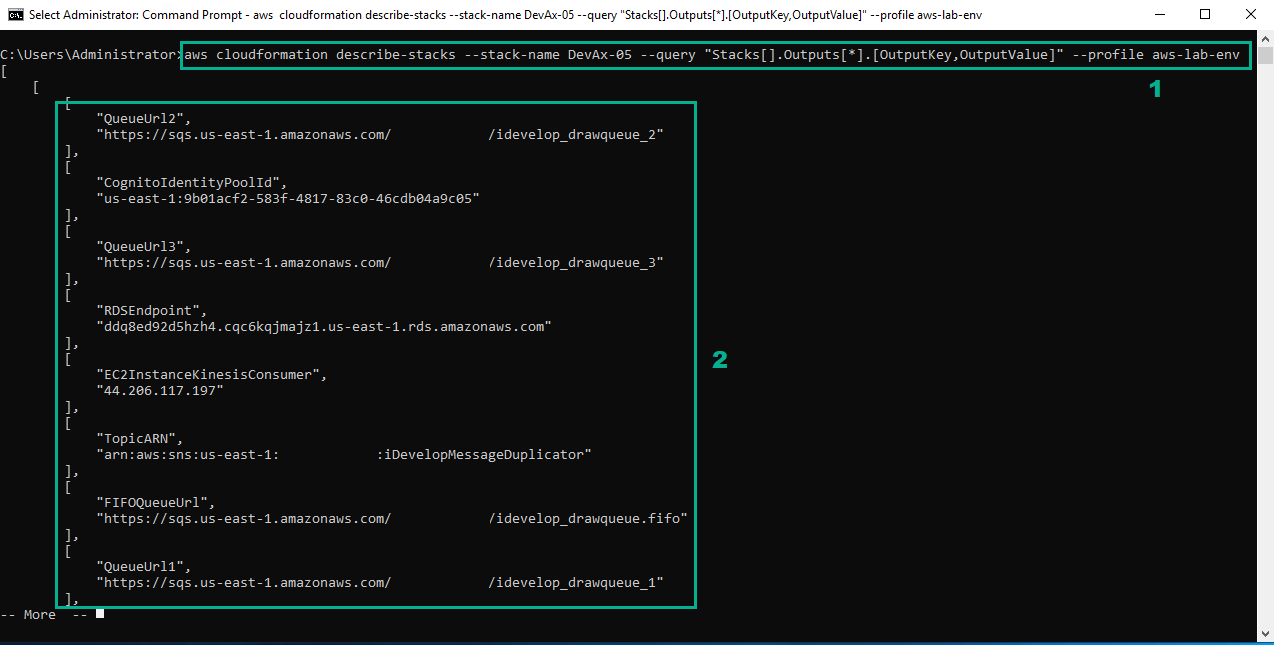
- Execute the following command:
aws cloudformation describe-stacks --stack-name DevAx-05 --query "Stacks[].Outputs[*].[OutputKey,OutputValue]" --profile aws-lab-env
- Save value of CognitoIdentityPoolId, QueueUrl1, QueueUrl2, QueueUrl3, FIFOQueueUrl, TopicARN to use in next step
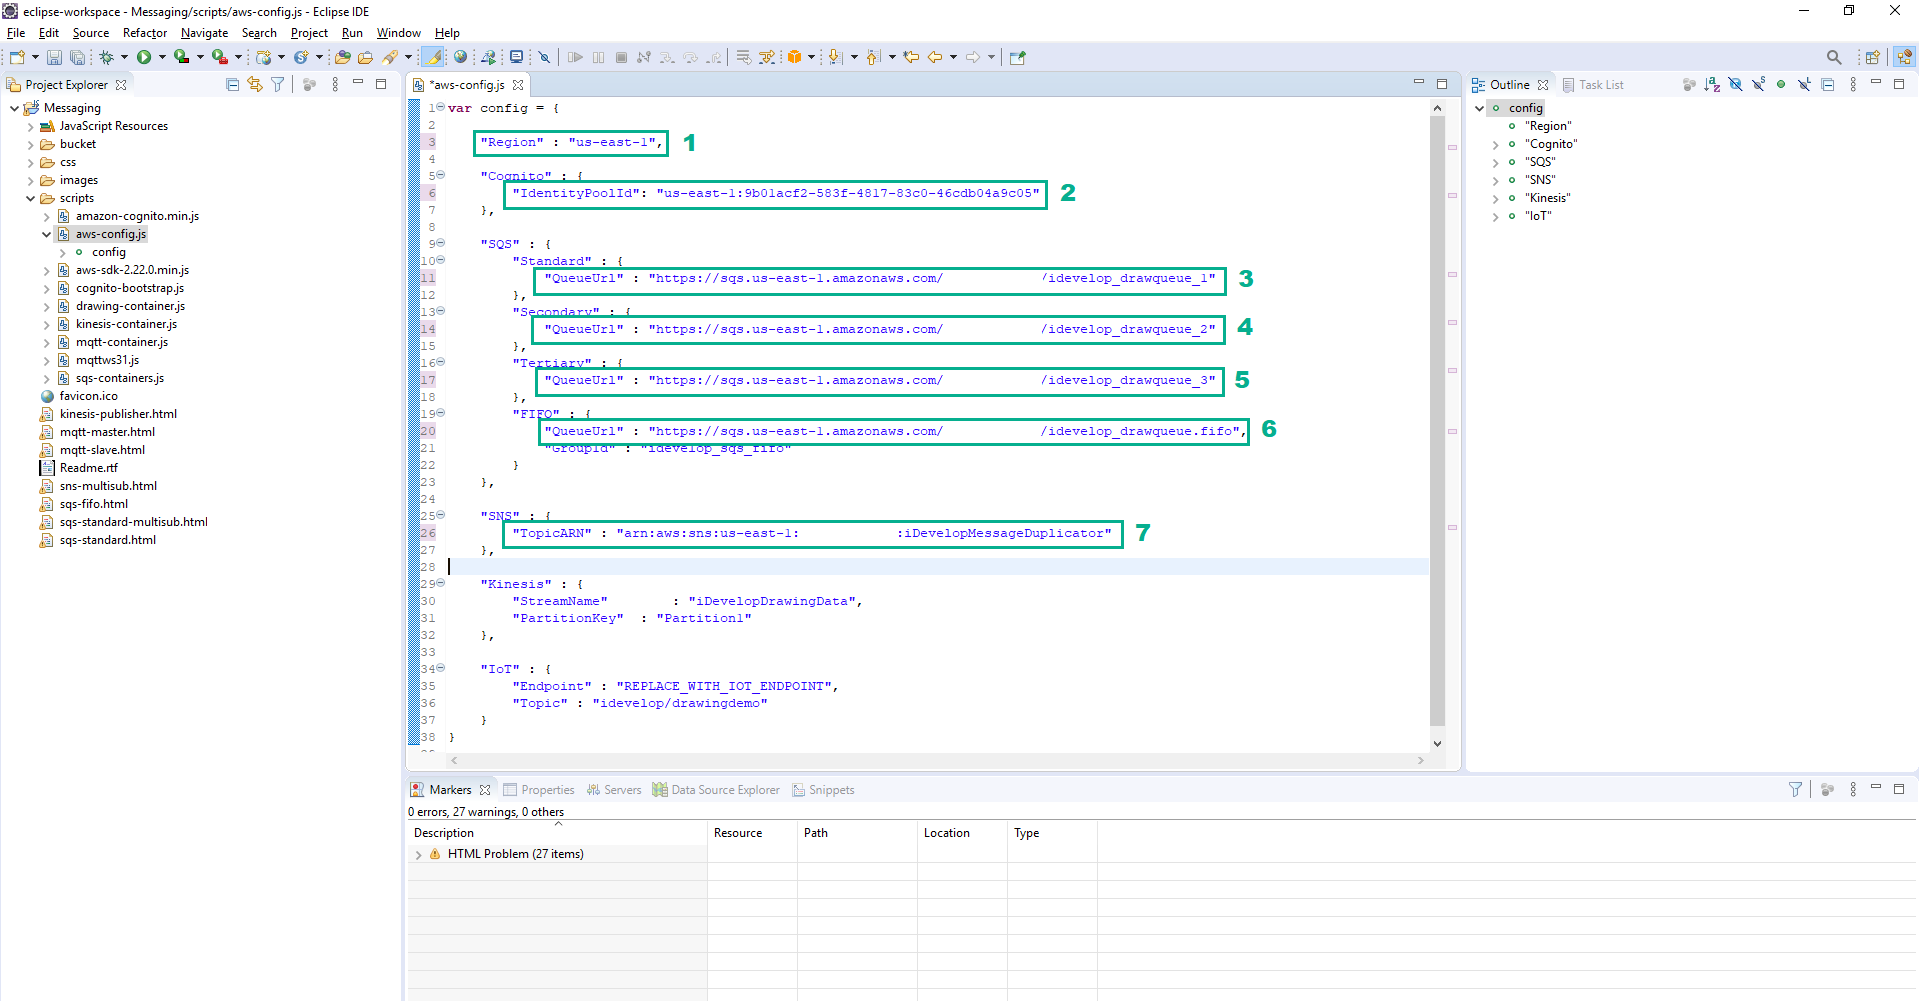
- In the file aws-config.js, Replace ap-southeast-2 by your Region Code
- Replace REPLACE_WITH_COGNITO_IDENTITY_POOL_ID by the value of CognitoIdentityPoolId we saved in step 3
- Replace REPLACE_WITH_QUEUE_URL_1 by the value of QueueUrl1 we saved in step 3
- Replace REPLACE_WITH_QUEUE_URL_2 by the value of QueueUrl2 we saved in step 3
- Replace REPLACE_WITH_QUEUE_URL_3 by the value of QueueUrl3 we saved in step 3
- Replace REPLACE_WITH_QUEUE_URL_FIFO by the value of FIFOQueueUrl we saved in step 3
- Replace REPLACE_WITH_SNS_TOPIC_ARN by the value of TopicARN we saved in step 3
- Save.
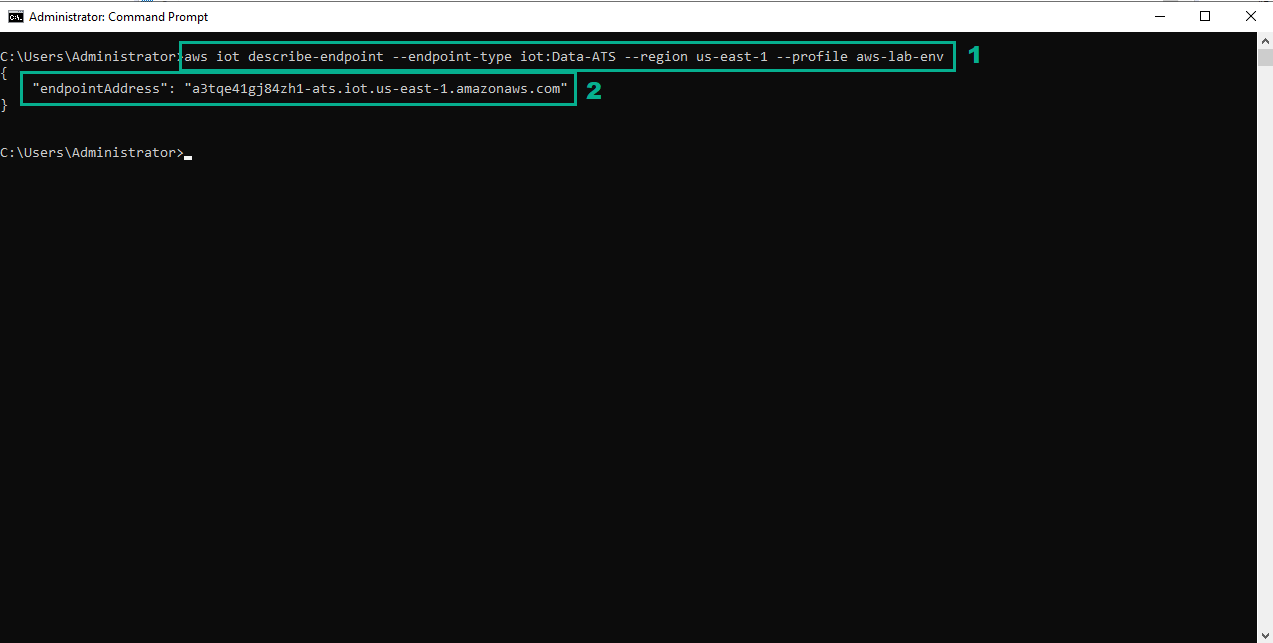
- There is one more item to replace, REPLACE_WITH_IOT_ENDPOINT. Execute the following command to get this value
aws iot describe-endpoint --endpoint-type iot:Data-ATS --region <your_region> --profile aws-lab-env
Replace <your_region> by your Region code
- Save the value of endpointAddress to use in next step
- In the file aws-config.js, replace REPLACE_WITH_IOT_ENDPOINT by the value of endpointAddress we saved in step 5

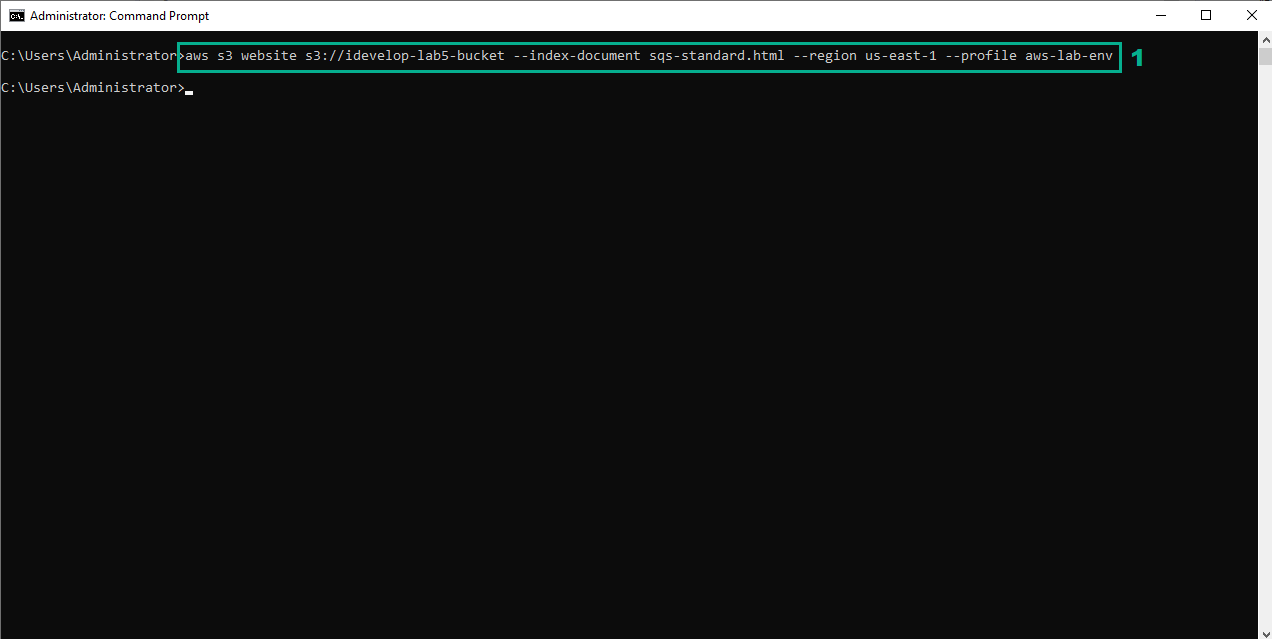
- Execute the following command:
aws s3 website s3://<bucket_name> --index-document sqs-standard.html --region <your_region> --profile aws-lab-env
Replace <bucket_name> by the name of the S3 bucket we created in step 1.
Replace <your_region> by your Region code.
From Step 8 to Step 10, the Public policy will be applied to your bucket for lab purpose only and this is a security risk. If you do not want to public your bucket and just want to public objects. Please skip to Step 11.
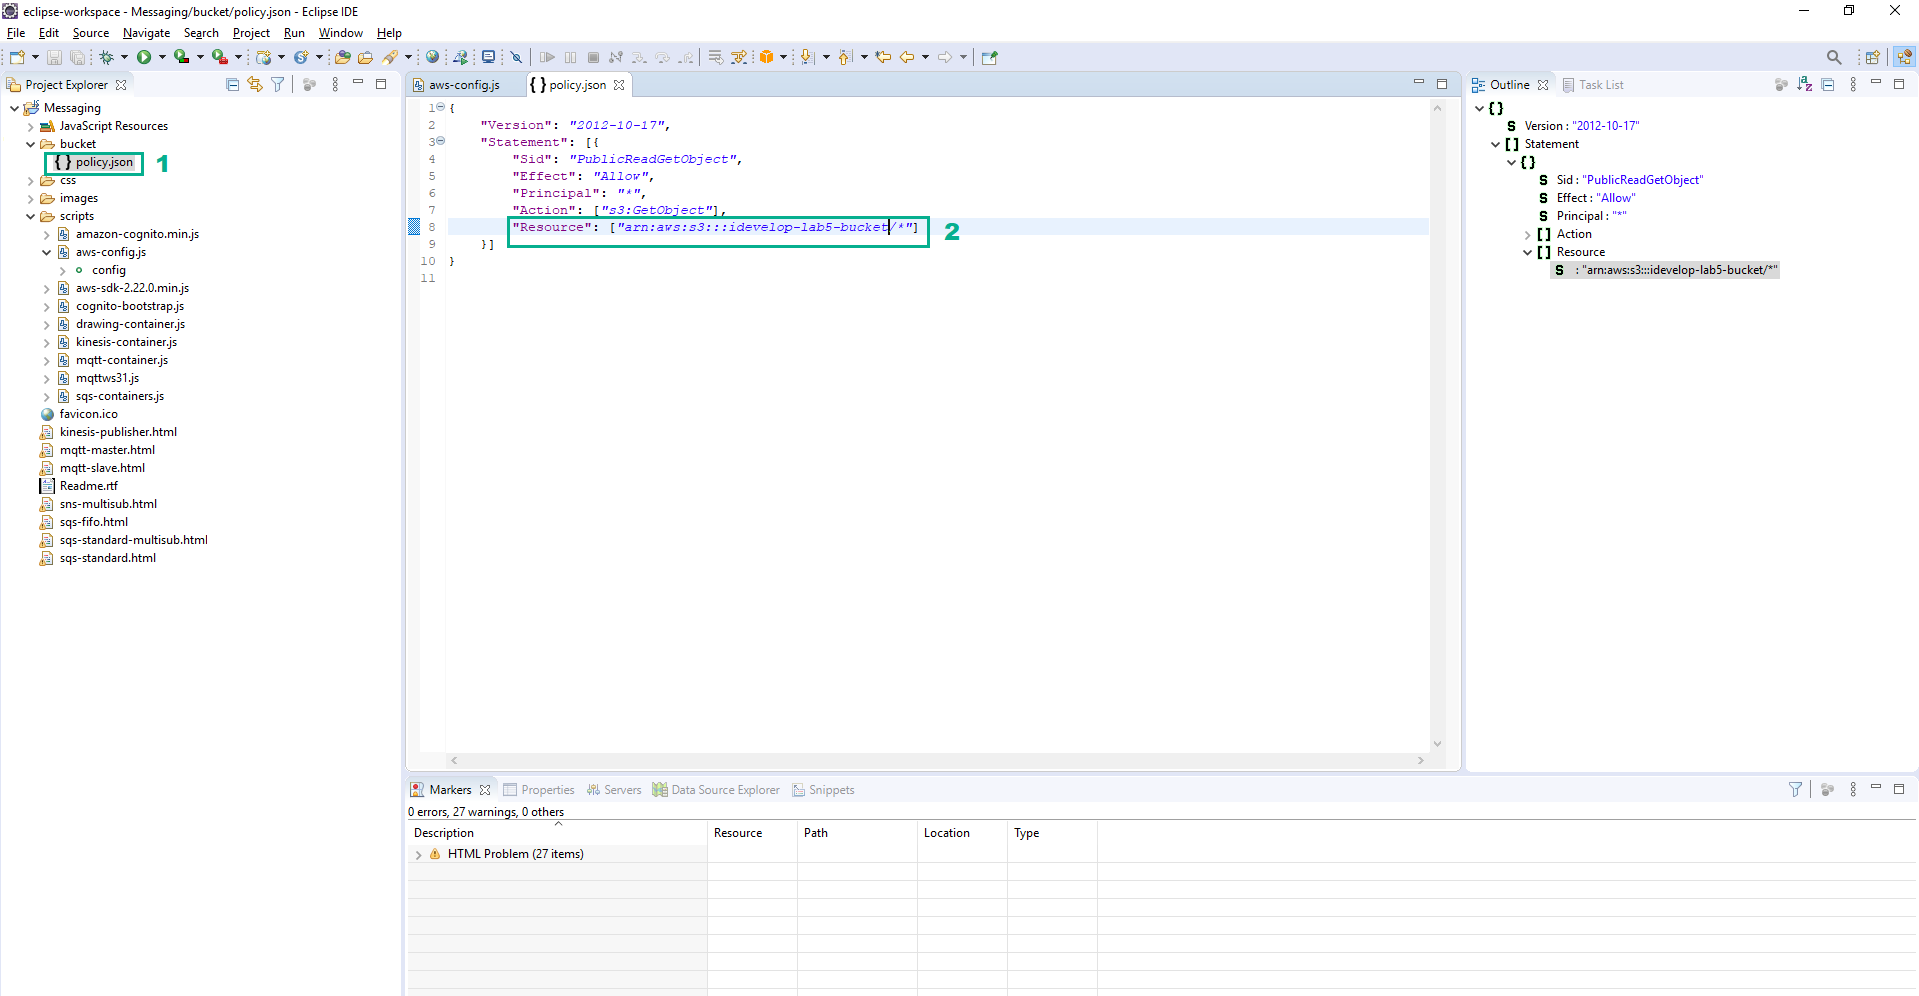
- In the Eclipse IDE, open the file whose the path is Messaging/bucket/policy.json
- Replace idevelop-lab5-< yourinitials> by the name of the S3 bucket we created in step 1.
- Save.
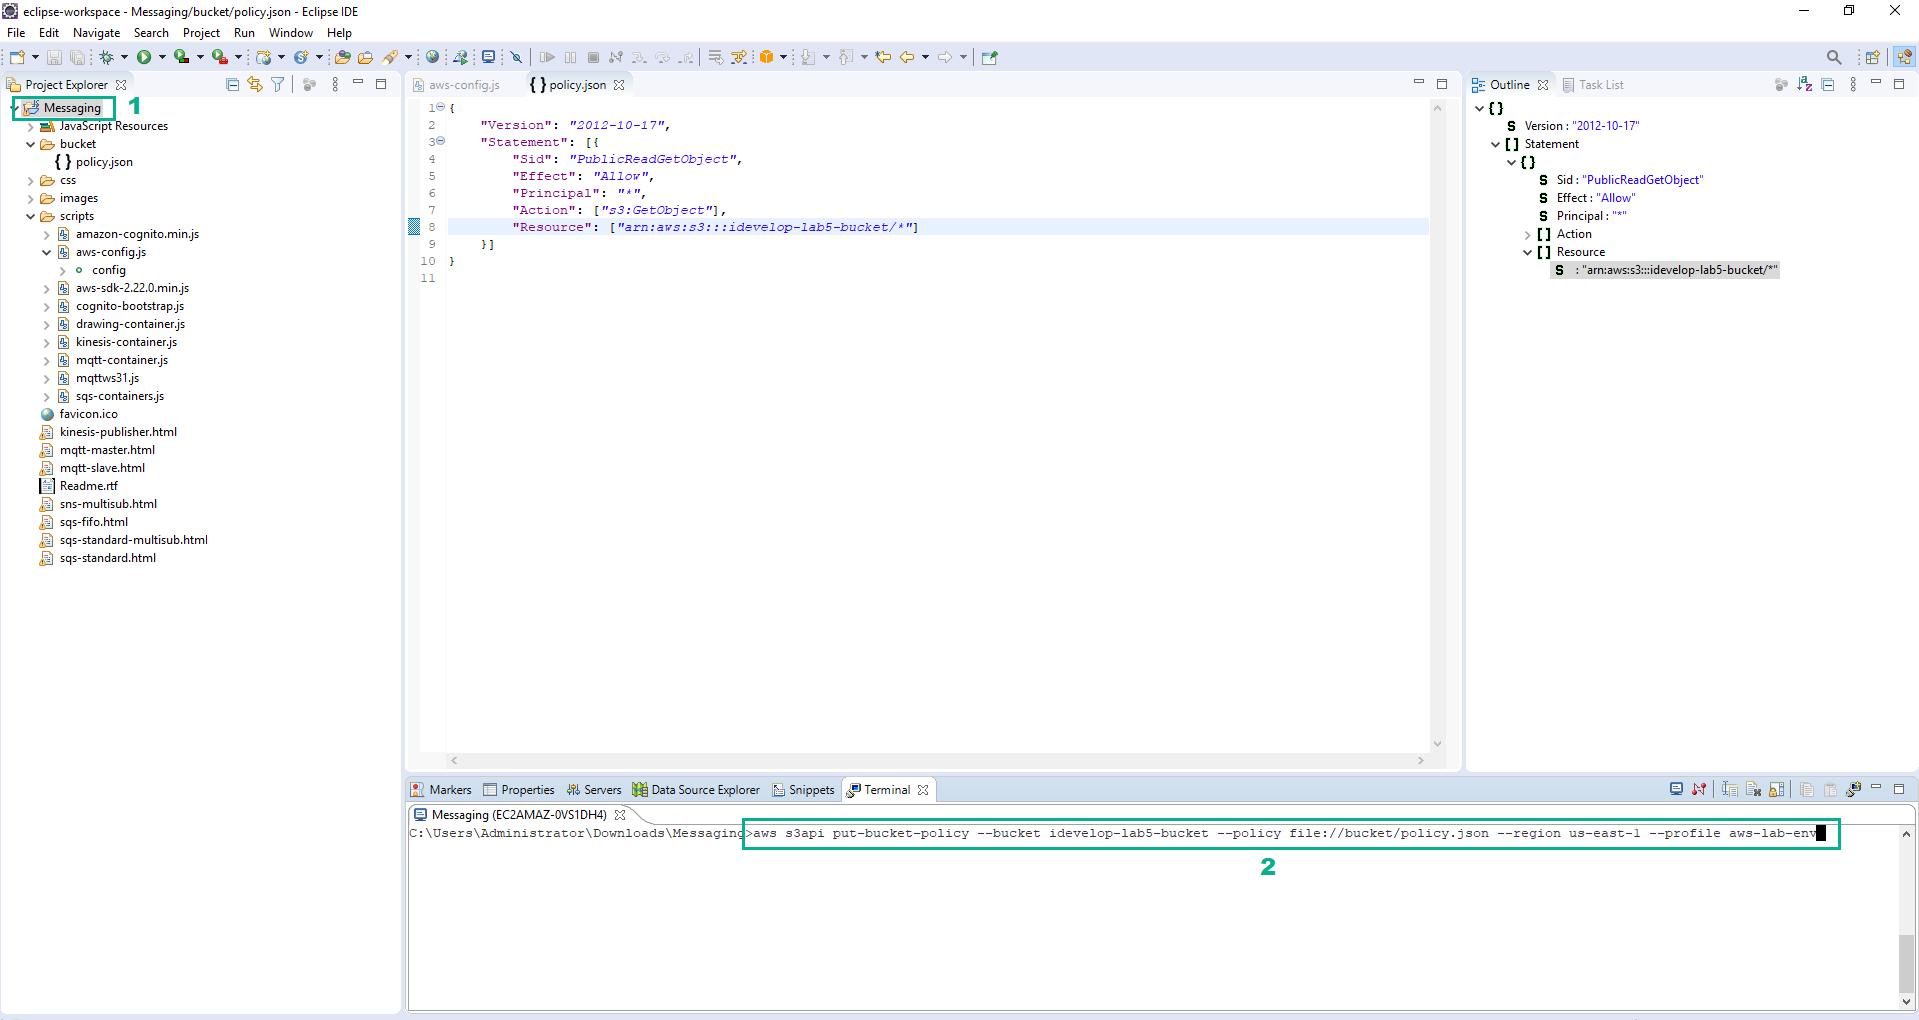
- In the Eclipse IDE, click Messaging
- Press Ctrl+Alt+T shortcut to open the terminal
- Execute the following command to update the bucket policy
aws s3api put-bucket-policy --bucket <bucket_name> --policy file://bucket/policy.json --region <your_region> --profile aws-lab-env
Replace <bucket_name> by the name of the S3 bucket we created in step 1.
Replace <your_region> by your Region code.
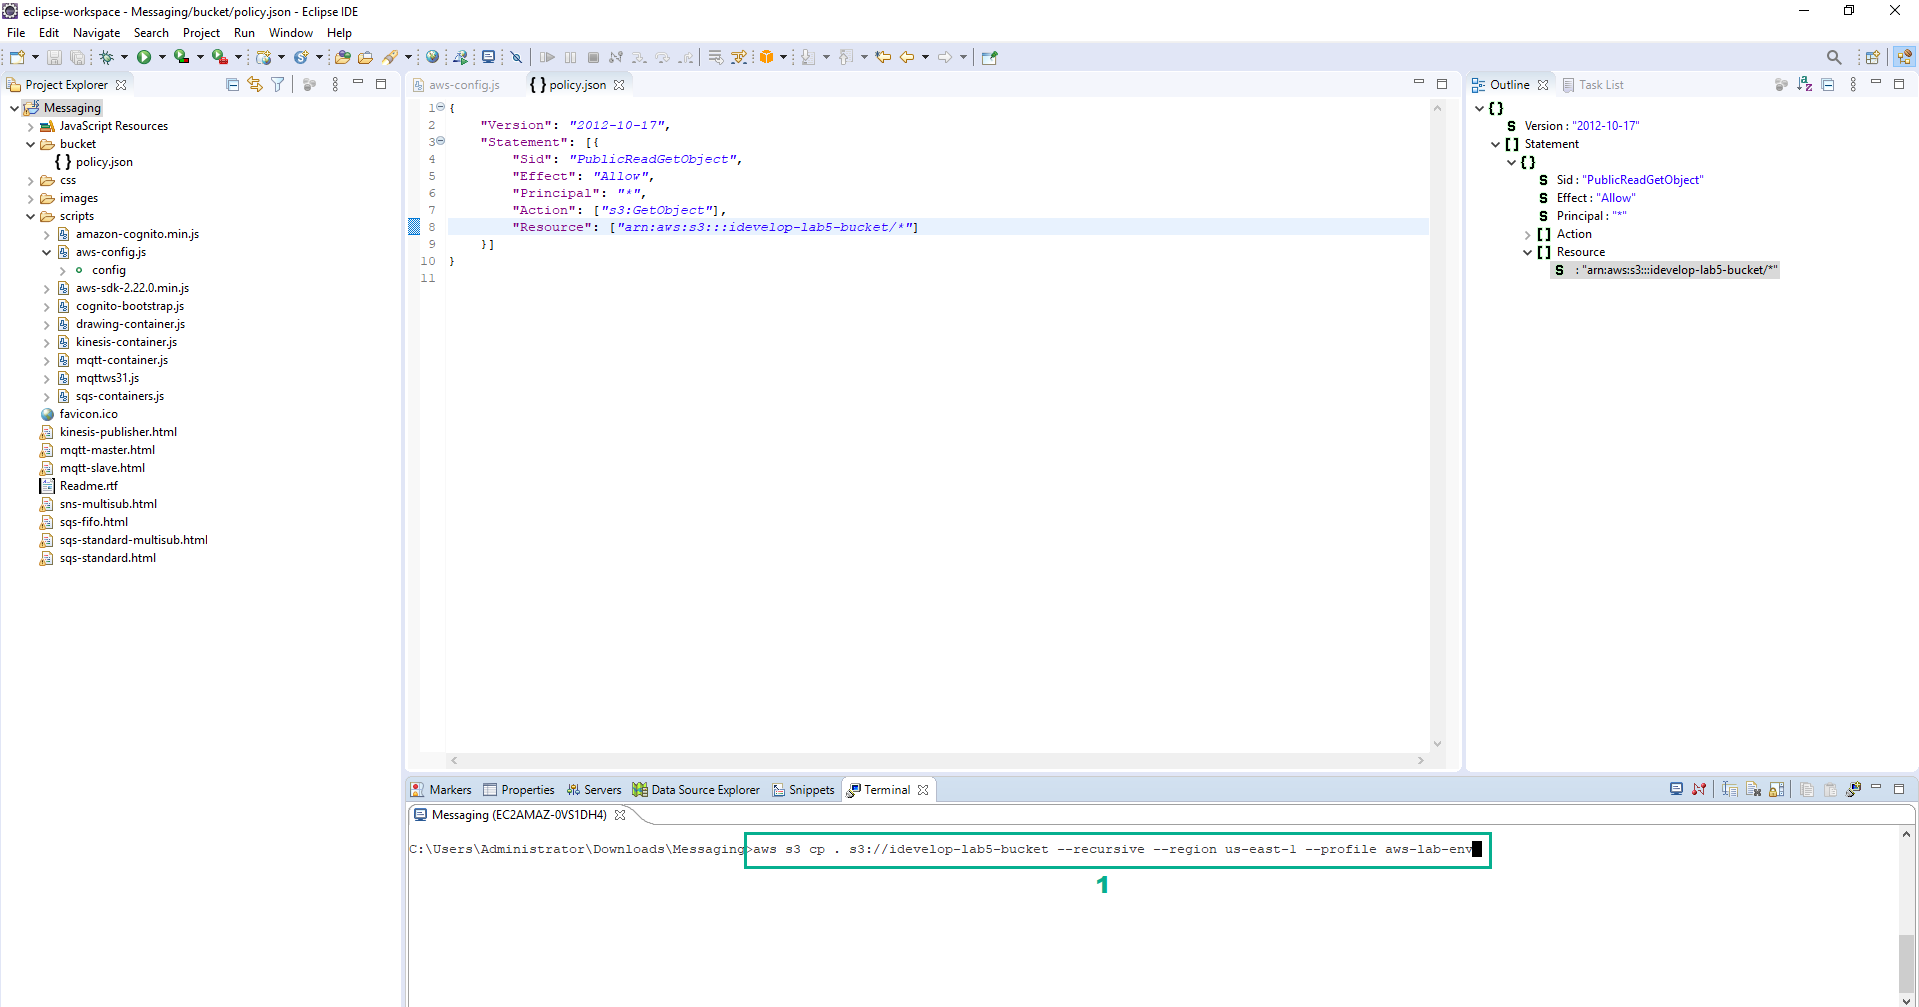
 10. Copy the contents of the folder you exploded the zip file into, to the S3 bucket you created earlier, Execute the following command
aws s3 cp . s3://<bucket_name> --recursive --region <your_region> --profile aws-lab-env
Replace <bucket_name> by the name of the S3 bucket we created in step 1.
Replace <your_region> by your Region code.
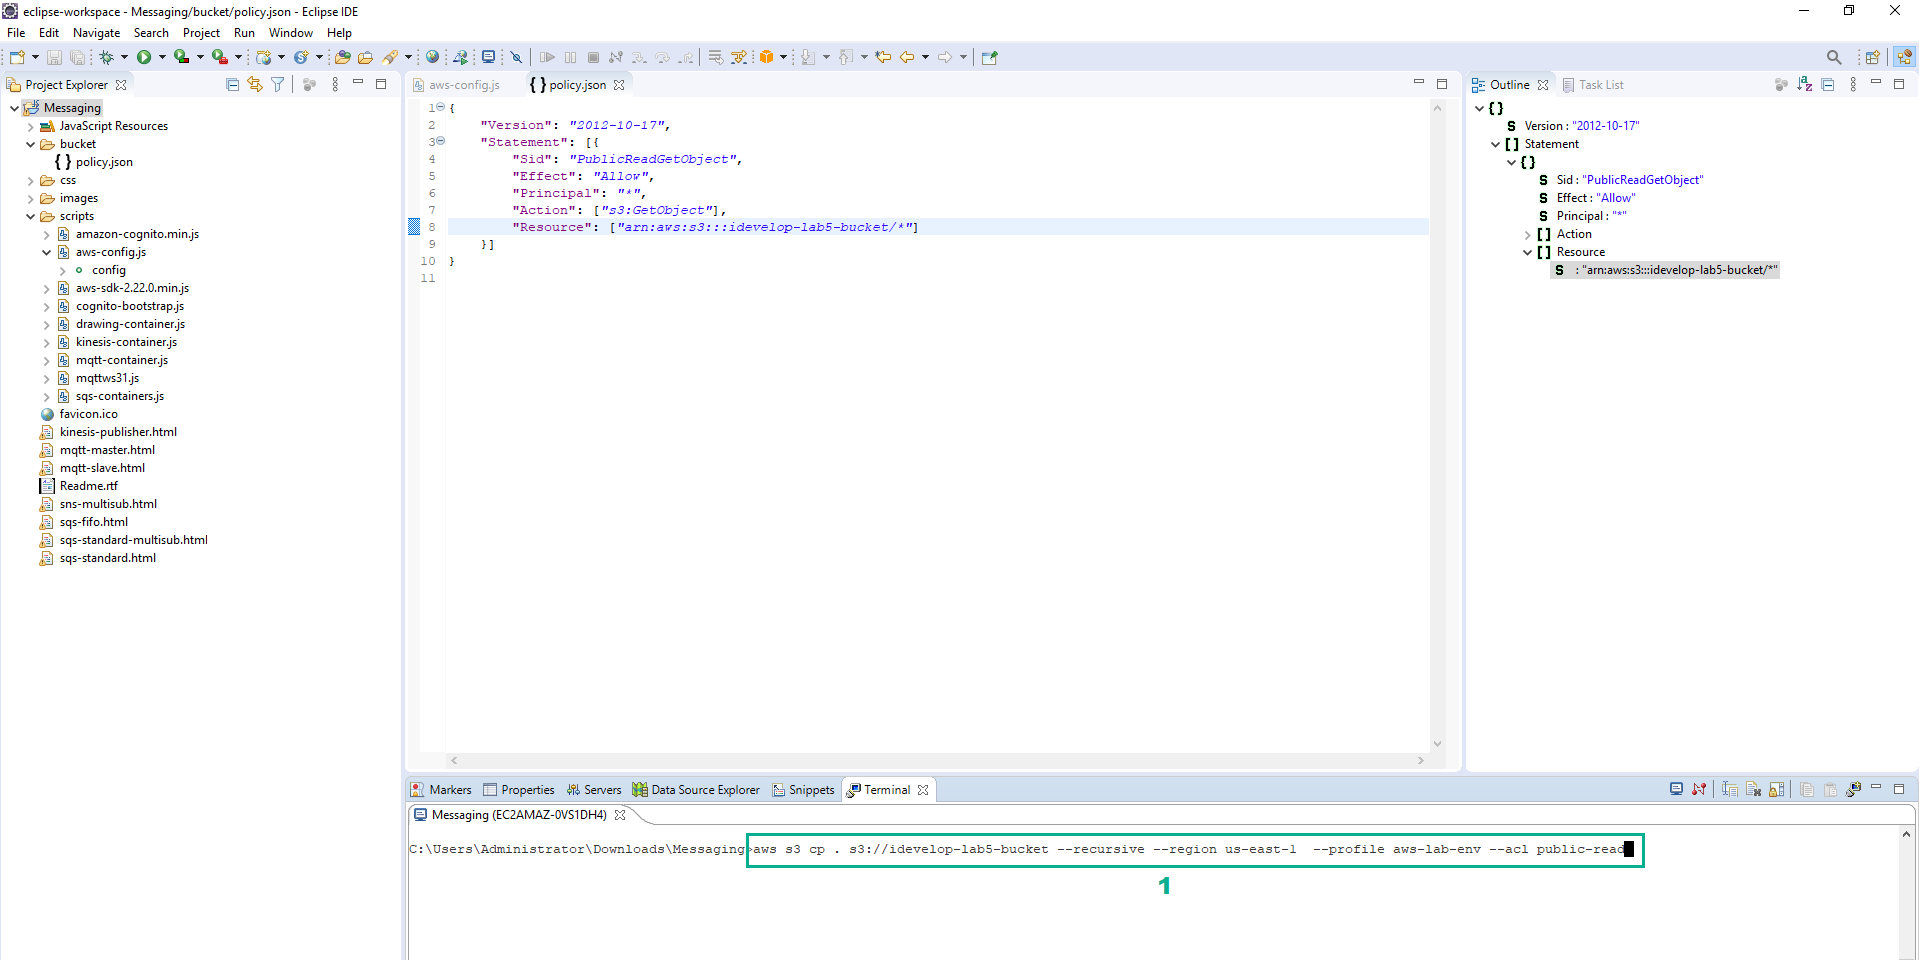
 11. Copy the contents of the folder you exploded the zip file into, to the S3 bucket you created earlier and public all the uploaded objects, Execute the following command
aws s3 cp . s3://<bucket_name> --recursive --region <your_region> --profile aws-lab-env --acl public-read
Replace <bucket_name> by the name of the S3 bucket we created in step 1.
Replace <your_region> by your Region code.
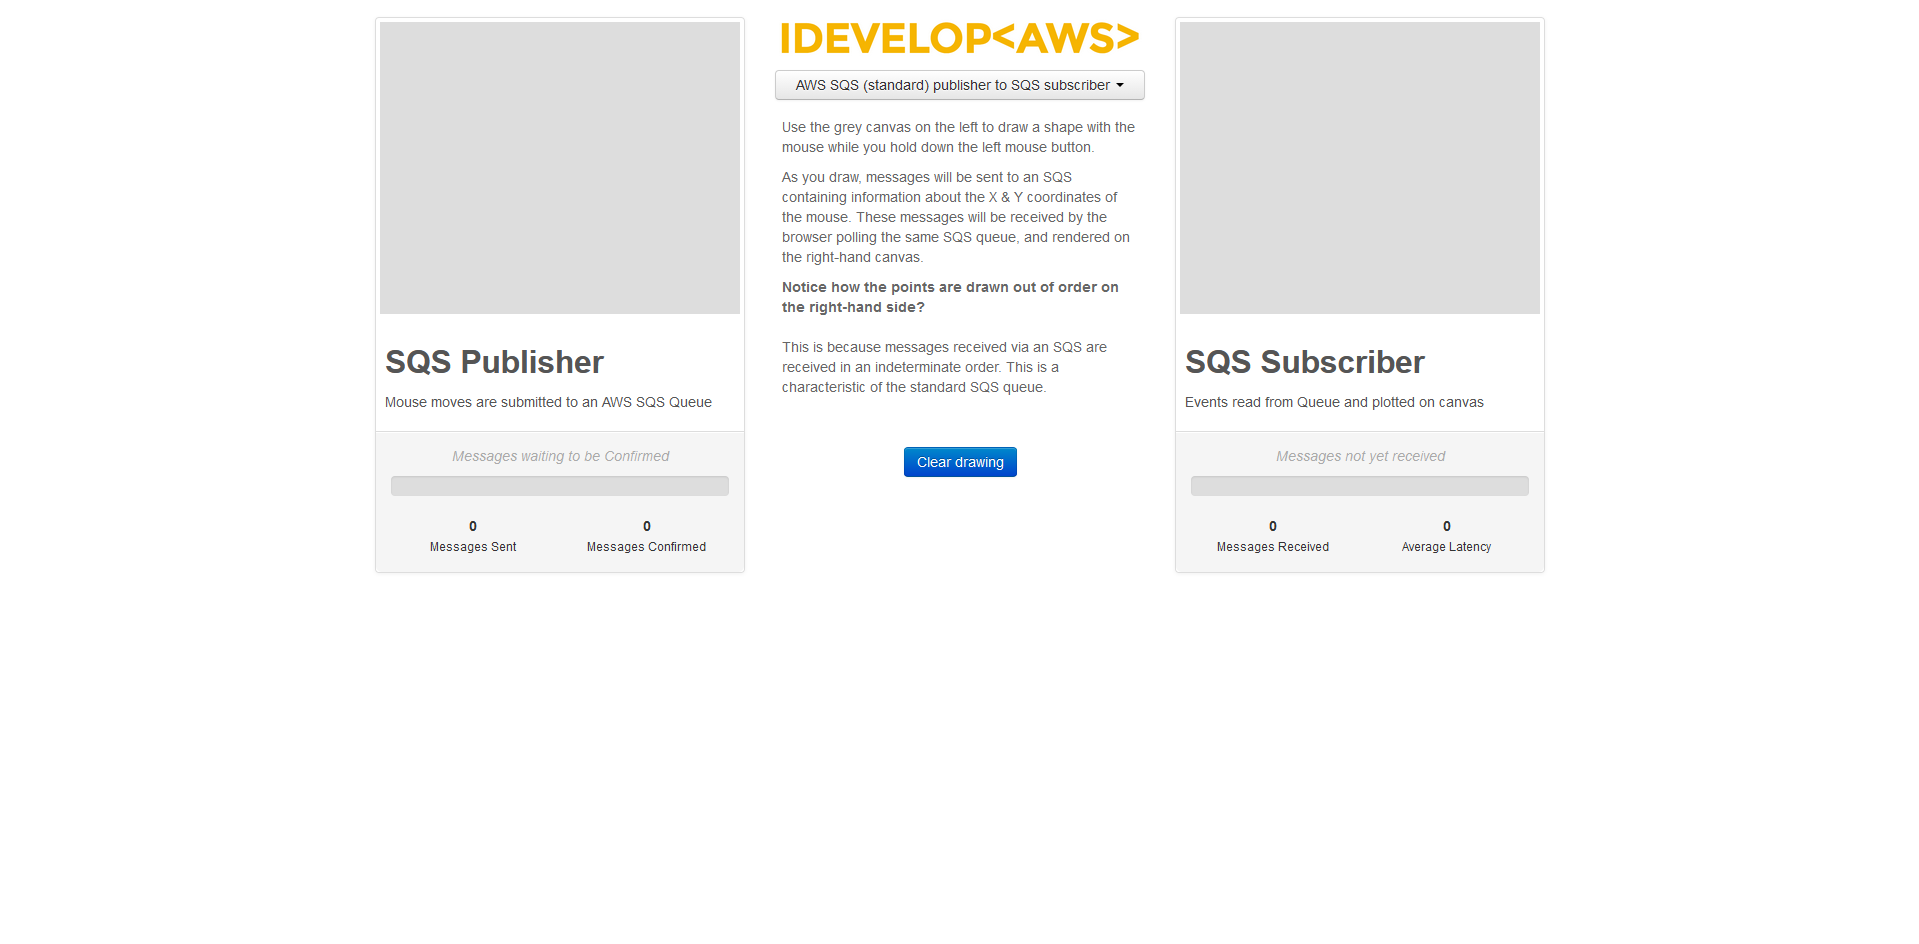
 12. After the command executes, you are ready to review the website in your browser. Open a web browser and browse to the following location
http://<bucket_name>.s3-website-<your_region>.amazonaws.com/sqs-standard.html
Replace <bucket_name> by the name of the S3 bucket we created in step 1.
Replace <your_region> by your Region code.
SQS Queue Setup
The lab environment setup has configured the SQS queues used in this lab, using a CloudFormation template.
- Go to AWS SQS console.
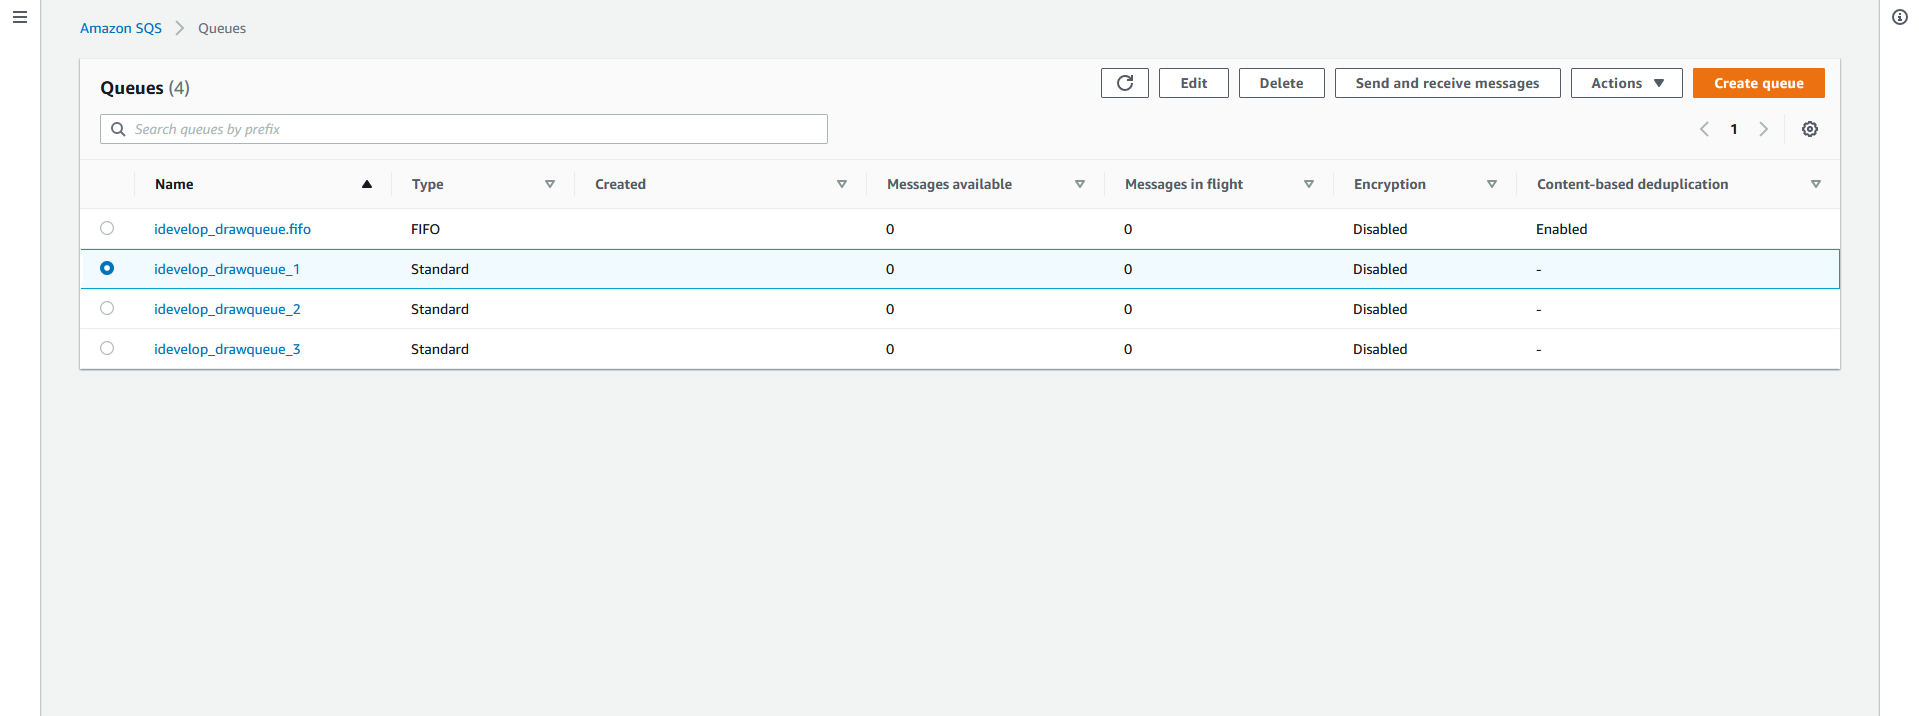
Four queues have been provisioned. Three are standard queues, and one is a FIFO queue. Here is a snippet of the CloudFormation template that provisioned these resources:
"idevelopDrawQueueFIFO": {
	"Properties": {
		"QueueName": "idevelop_drawqueue.fifo",
		"FifoQueue": true,
		"ContentBasedDeduplication": true
	},
	"Type": "AWS::SQS::Queue"
},

"idevelopDrawQueueStandard1": {
	"Properties": {
		"QueueName": "idevelop_drawqueue_1"
	},
	"Type": "AWS::SQS::Queue"
}
As you can see, it is very easy to use CloudFormation to declare your SQS infrastructure. You can also use the Create New Queue button in the AWS Console to create a queue manually.