Install & Configure Prerequisites
In this exercise, you will have the option to continue developing on the windows based eclipse environment or utilise a cloud based development using AWS Cloud9. AWS Cloud9 is a cloud-based integrated development environment (IDE) that lets you write, run, and debug your code with just a browser.
If you haven’t used Cloud9 before, this is an excellent opportunity to use a cloud-based integrated development environment! Whether you choose to develop on AWS Cloud9 or contiunue to use the Windows based environment provided by this module you will still be able to cover all the topics of the lab.
Contents
Option 1: Eclipse Environment
Install & Configure Prerequisites - Windows Eclipse Development
In this exercise, you will connect to your Windows Development host. We will be using the provided Windows Development environment to run this lab.
An AWS EC2 windows instance has been set up for you. To gain access to the Workspace, follow the instructions outlined in Section 1.2. Remote enviroment & Configure the AWS CLI, then continue this lab.
Option 2: Cloud9 Environment
Cloud Based Integrated Development Environment with AWS Cloud9
In this module we will be using AWS Cloud9. WS Cloud9 is a cloud-based integrated development environment (IDE) that lets you write, run, and debug your code with just a browser. It includes a code editor, debugger, and terminal. Cloud9 comes prepackaged with essential tools for popular programming languages, including JavaScript, Python, PHP, and more, so you don’t need to install files or configure your development machine to start new projects. Since your Cloud9 IDE is cloud-based, you can work on your projects from your office, home, or anywhere using an internet-connected machine. Cloud9 also provides a seamless experience for developing serverless applications enabling you to easily define resources, debug, and switch between local and remote execution of serverless applications. With Cloud9, you can quickly share your development environment with your team, enabling you to pair program and track each other’s inputs in real time.
- Under Services search bar - type in
Cloud9-> Create environment. This will bring up a new screen, enter Your name in the name field and click Next Step. - For Environment type, choose Create a new EC2 Instance for environment (direct access)
- For Instance type, choose a t3.small
- For Platform, choose Amazon Linux 2
- Under VPC chose the DevAxNetworkVPC (remember, you can find the VPC ID in the AWS Console under VPC) and choose the same subnet as the DevAxWindowsHost in the ec2 instance menu. Click Next step
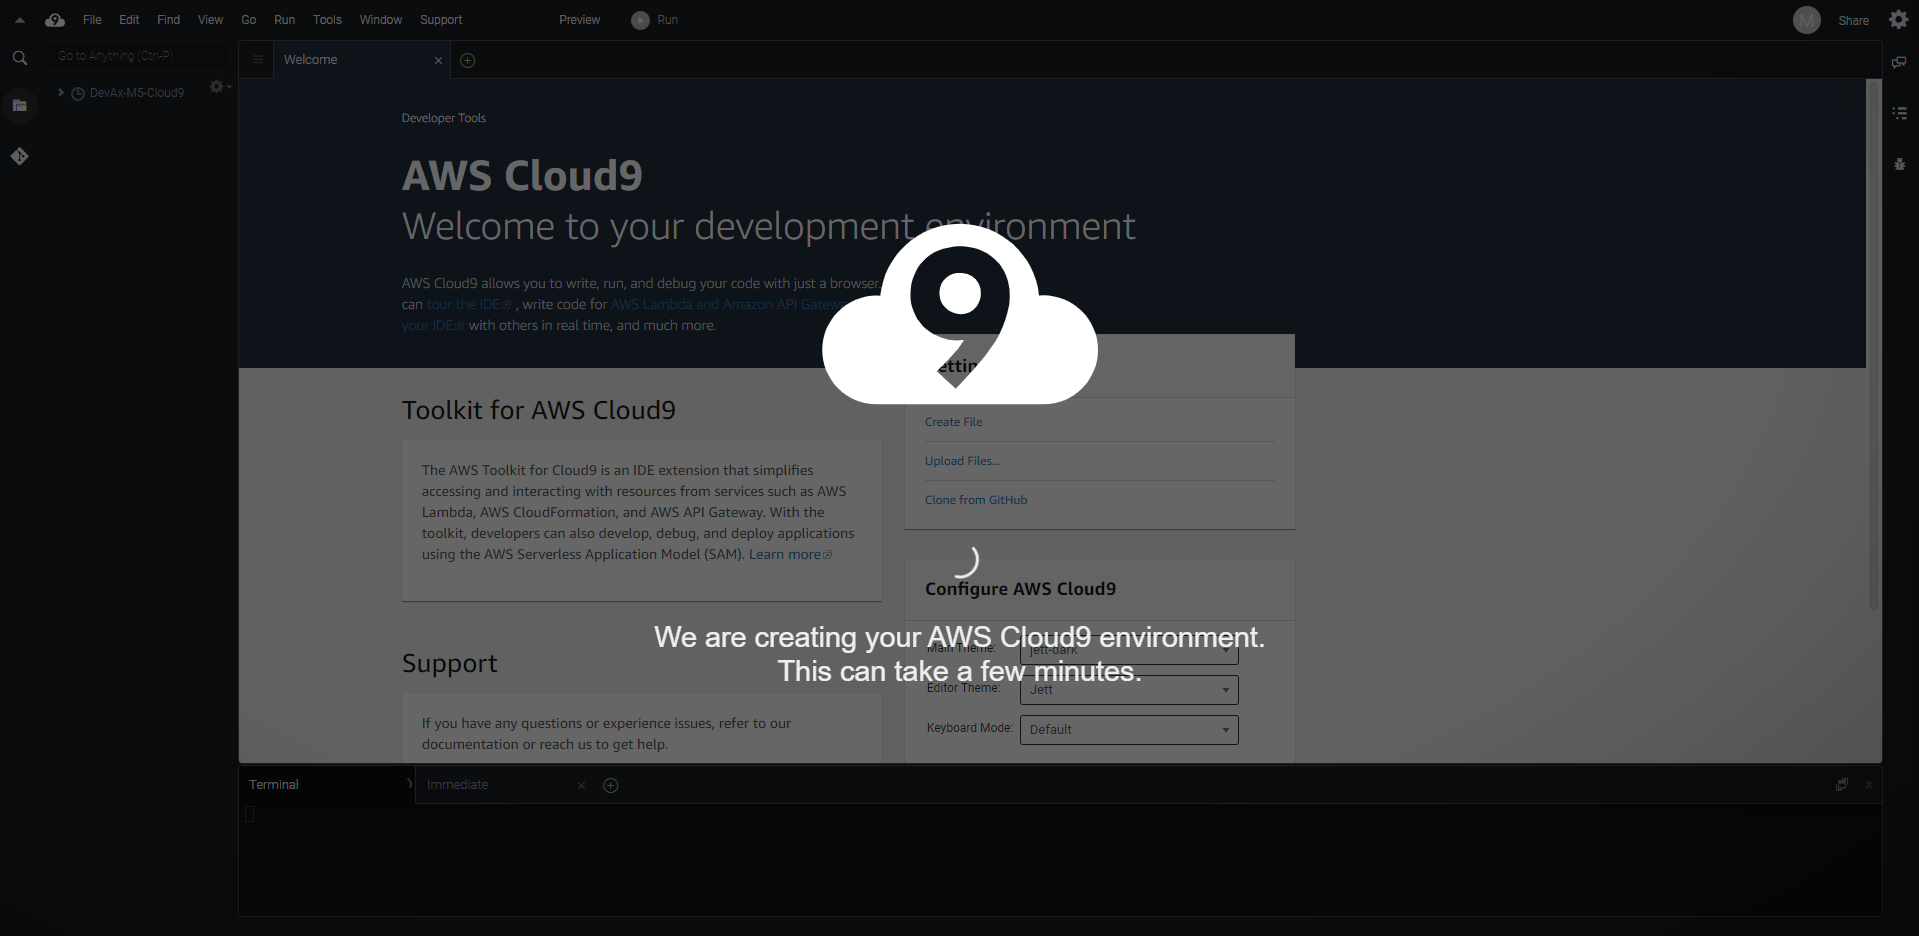
- Review your settings and click Create environment. This will take a few minutes to start up… and you should get redirected to the AWS Cloud9 screen.
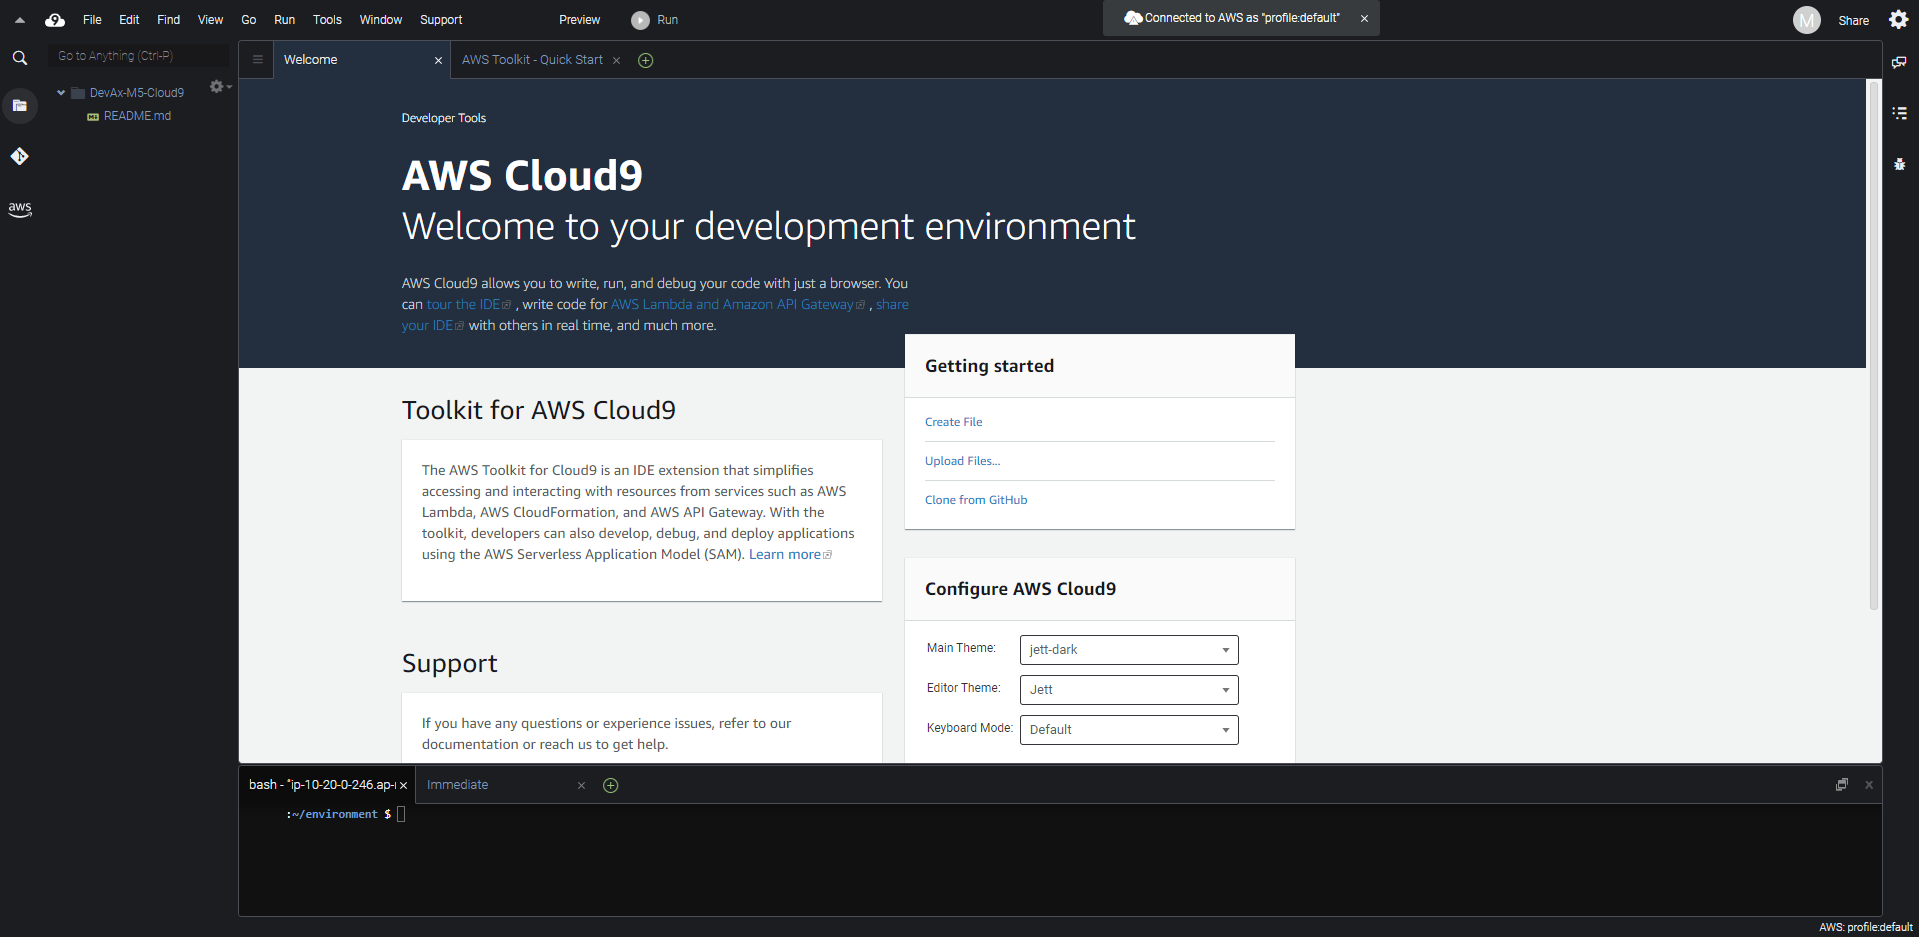
- Start having a look around the cloud9 environment, notice you have a console you can use to do your work from, and there are debugging and lambda setup on the right side. See what other lambda functions are already in the AWS account and review them.
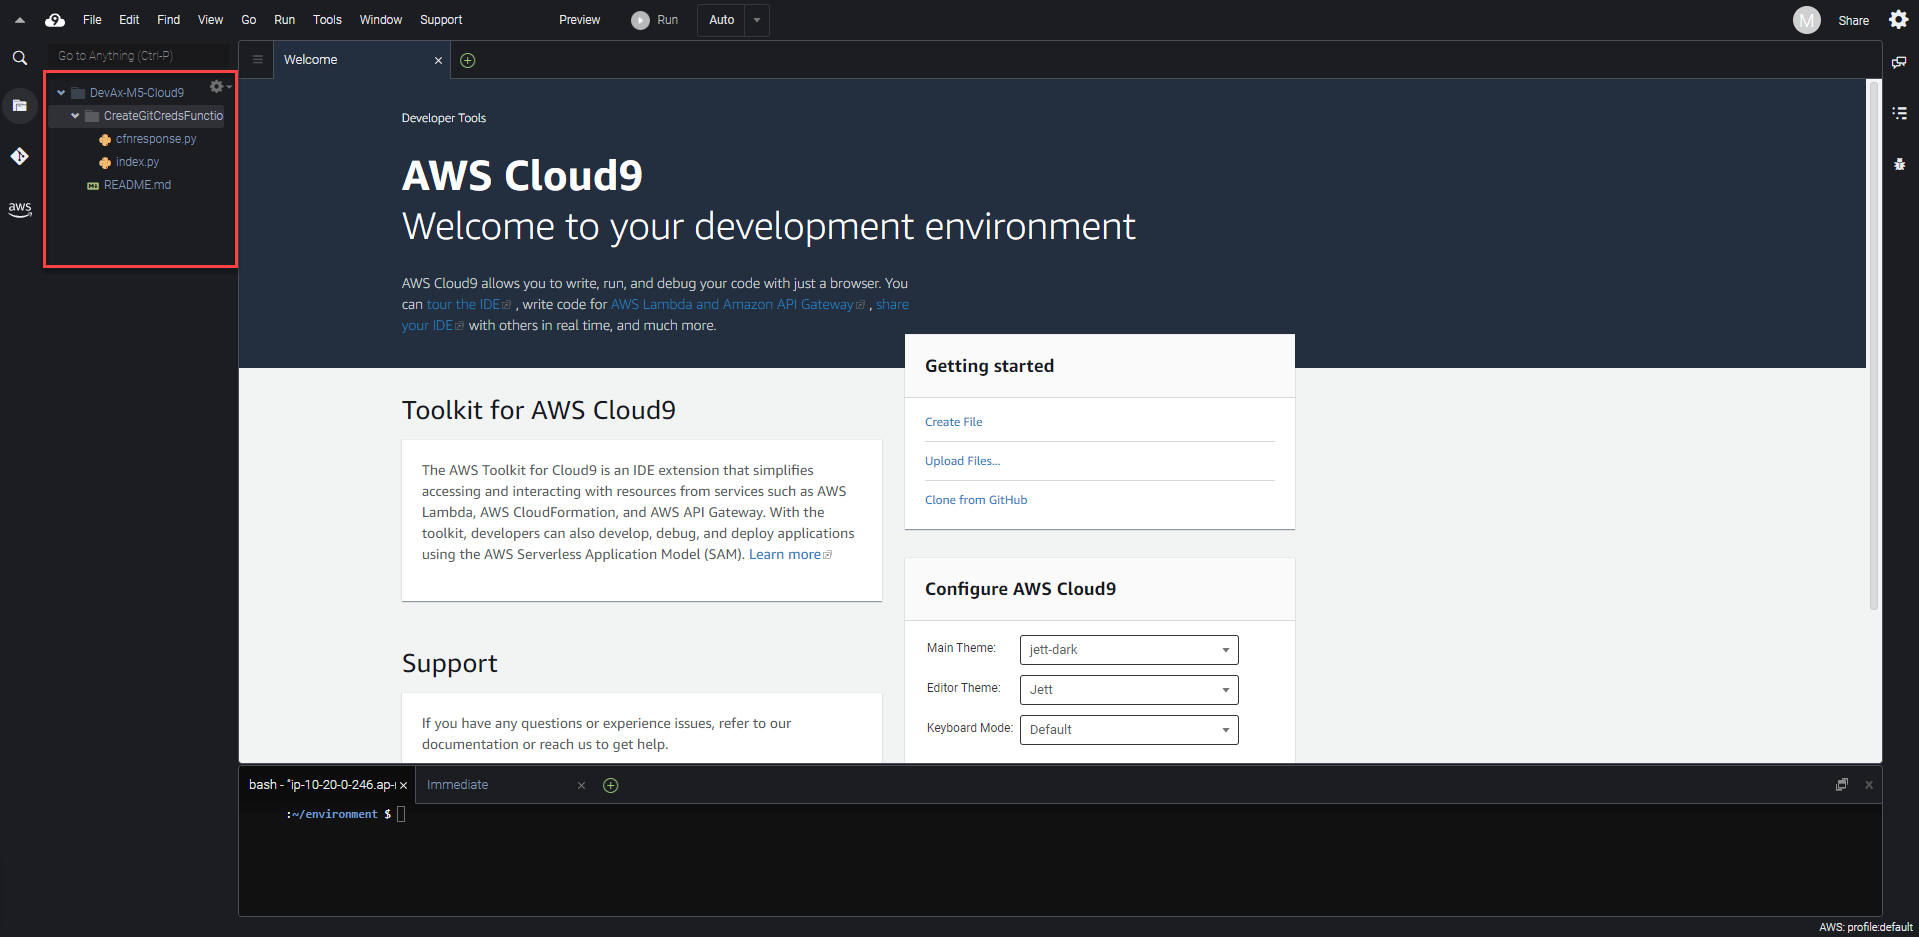
- Double click on the CreateGitCredsFunction and import it into your environment. Notice anything in the IDE?
We now need to setup the required JAVA version to be 1.8 and change the required parameters on the IDE. We will be using Amazon Corretto, a no-cost, multiplatform, production-ready distribution of OpenJDK. Corretto comes with long-term support that will include performace enhancements and security fixes.
- In the Cloud9 terminal window, install Amazon Corretto 8 by issuing the following commands:
sudo amazon-linux-extras enable corretto8
sudo yum install -y java-1.8.0-amazon-corretto-devel
- In the Cloud9 terminal window, verify that the right Java version is installed (at the time of writing this was
1.8.0_265):
java -version
You should see output similar to the following:
Admin:~/environment $
openjdk version "1.8.0_265"
OpenJDK Runtime Environment Corretto-8.265.01.1 (build 1.8.0_265-b01)
OpenJDK 64-Bit Server VM Corretto-8.265.01.1 (build 25.265-b01, mixed mode)
Install the SAM cli
We will install the AWS Serverless Application Model (SAM) Cli to our AWS Cloud9 environment. The AWS Serverless Application Model (SAM) is an open-source framework for building serverless applications. It provides shorthand syntax to express functions, APIs, databases, and event source mappings. With just a few lines per resource, you can define the application you want and model it using YAML. During deployment, SAM transforms and expands the SAM syntax into AWS CloudFormation syntax, enabling you to build serverless applications faster.
- In the Cloud9 terminal window, install the SAM cli by issuing the following command:
sudo pip3 install --upgrade aws-sam-cli
Install maven
We will use Apache Maven to manage project build and dependancy management for our project.
- To install Apache Maven in the Cloud9 terminal window, issue the following commands:
sudo wget http://repos.fedorapeople.org/repos/dchen/apache-maven/epel-apache-maven.repo -O /etc/yum.repos.d/epel-apache-maven.repo
sudo sed -i s/\$releasever/6/g /etc/yum.repos.d/epel-apache-maven.repo
sudo yum install -y apache-maven
Unfortunately the maven installer switches our JDK to 1.7 so we need to switch back to 1.8 9.
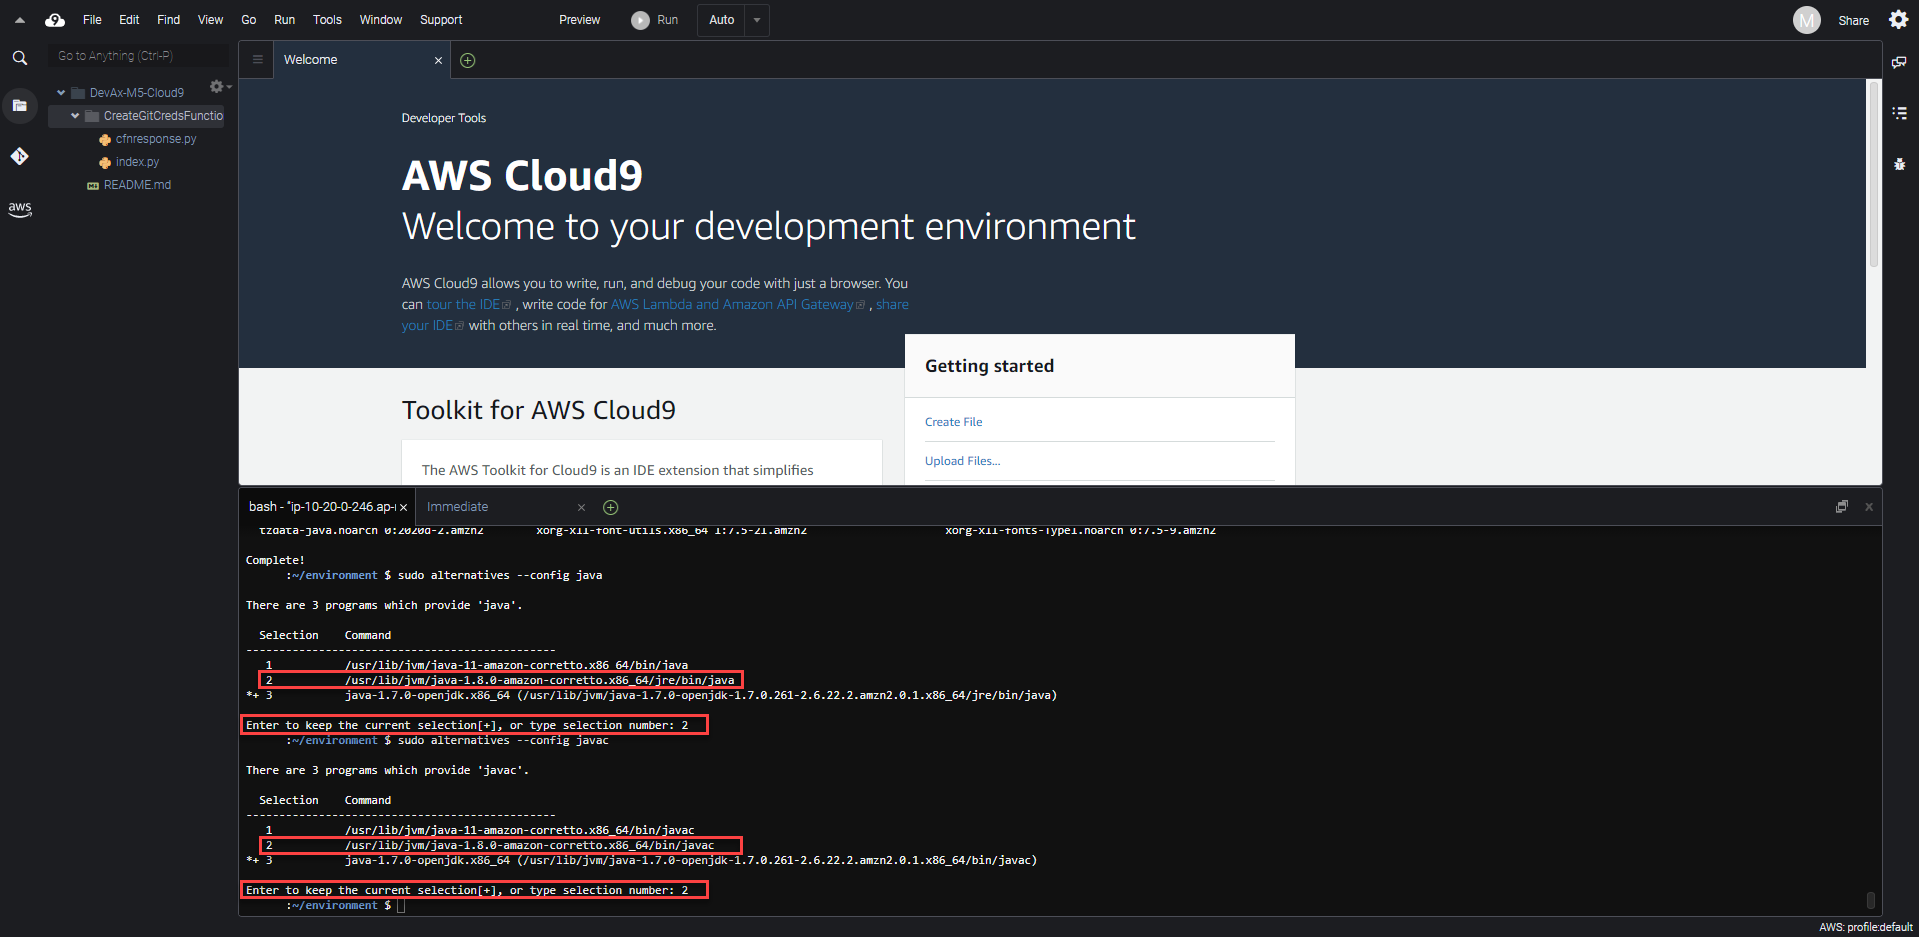
- To switch our JDK to Corretto 8, issue the following commands in the Cloud9 terminal:
sudo alternatives --config java #enter the number for corretto 8
sudo alternatives --config javac #enter the number for corretto 8
You should see something similar to the following:
Now you can use Cloud9 to continue the lab.